
How To Publish An eBook On Barnes & Noble
How To Publish An eBook On Barnes & Noble
Barnes & Noble’s self-publishing platform is called NOOK Press. Through the NOOK Press website, you can upload your ebook and submit it for sale on the Barnes & Noble website. In this walkthrough, I will take you through the process of publishing your ebook on Barnes & Noble’s NOOK Press site, one step at a time.
Start by signing up for a Nook Press account. If you already have a Barnes & Noble account (or a PubIt! account, which is BN’s old self-publishing platform), you will be able to use the same login for your Nook Press account. If you want to start a brand new account, you can do that too, but each email address can only be used once.

After you have registered, sign in to the main page of the Nook Press dashboard. Below is a screenshot of my dashboard. As you publish your books, they will appear here on the front page under the “Projects” tab. If you are just starting out, this page will be empty. To start a new project, simply click “Create New Project” circled here.
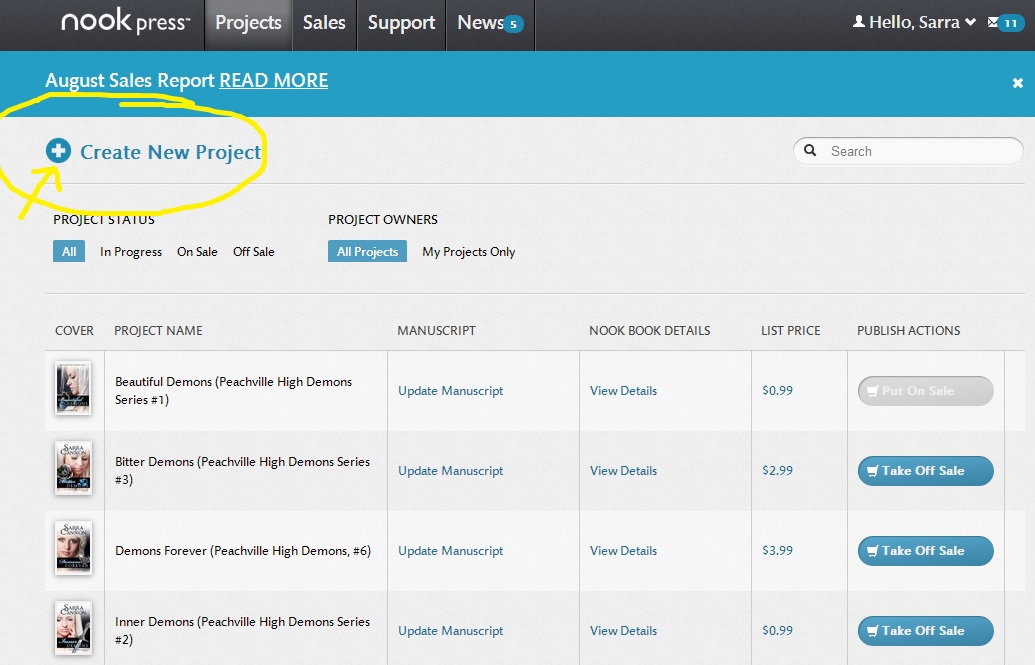
The first thing you will be asked to do is to “Create a New Project”. Here you will give your project a name. This project name will show up in your project list. It doesn’t have to be the same as the title of your book, but I recommend using the same or similar title anyway.

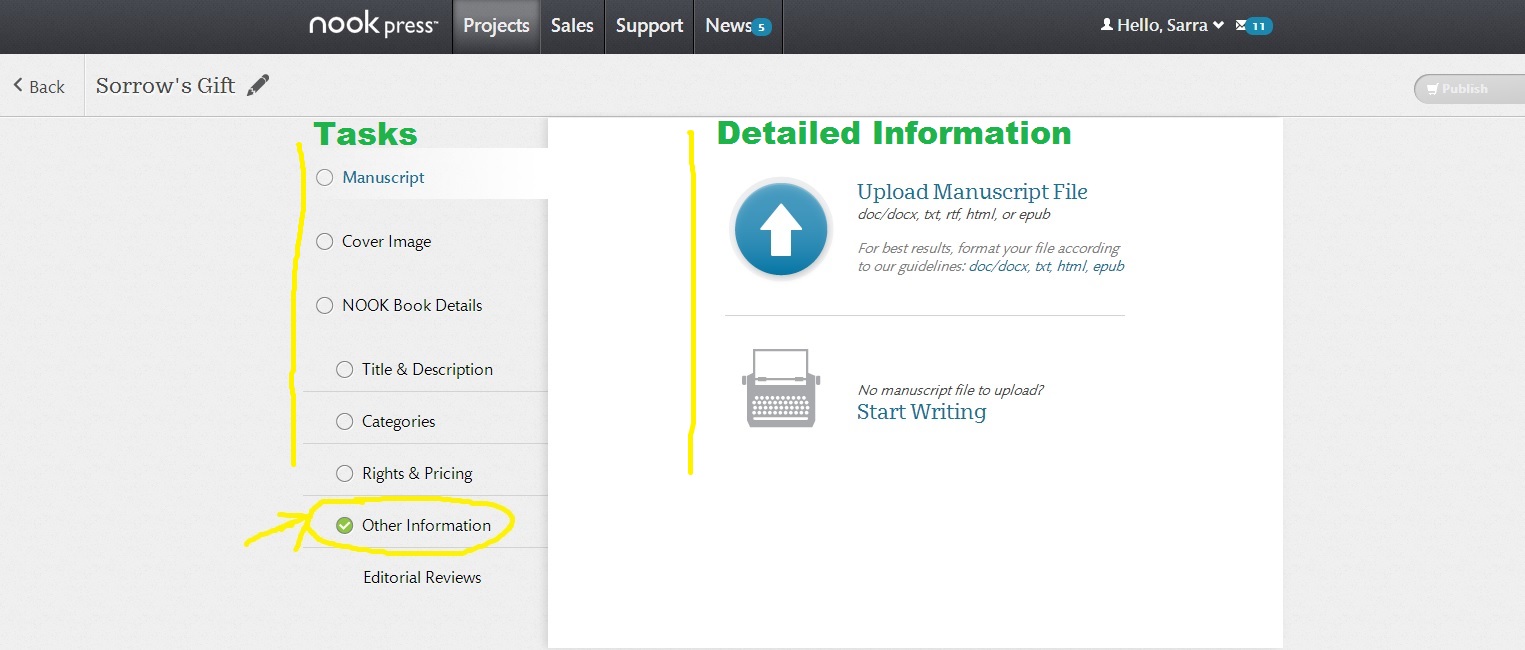
Once you’ve named your new project, you will be brought to a new interface where you will see tasks listed on the left and more detailed information on the right. Click on any of the sections on the left-hand side of the screen to fill in information about your project. These can be done in any order, but you will need to fill out each section before your ebook project is complete. When a section is completed, the circle next to that section will become green with a little check-mark inside.
I’m going to take you through each section of tasks and information one at a time.
Step 1 – Manuscript
You have two different options in the manuscript section. You can either (1) Upload your own Manuscript file or (2) Write your Manuscript inside the NOOK Press interface.
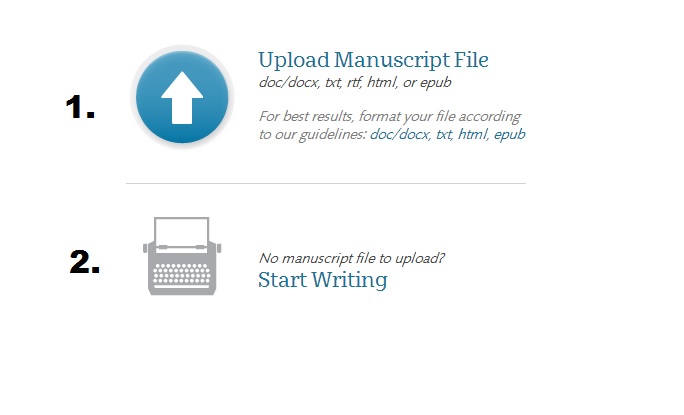
Most of the time, you will choose to upload an existing manuscript. You can upload a doc/docx, a txt file, rtf, html, or an epub. The NOOK store sells epubs, so if you upload something other than an epub, NOOK Press will then convert your document to an epub file. I find that for the most control over the end product, it’s best to upload an epub. NOOK Press does give some basic formatting guidelines here, though, so take some time to look over them. To see their guidelines, simply click on the format of choice in blue and a new box with these guidelines will pop up on your screen.
Once your file has been formatted correctly and is ready for upload, just click on “Upload Manuscript File” or on the large blue arrow. This will pop up an upload dialog.
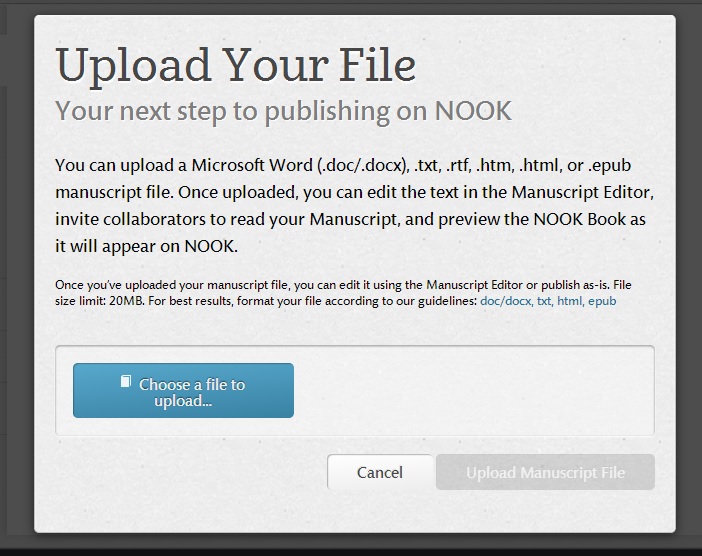
Click “Choose a file to upload”, locate the manuscript file on your computer, then click “Upload Manuscipt File”. It may take a moment for your file to upload and convert, but once it is finished, a new set of information will appear in the box on the right. It should look something like this:
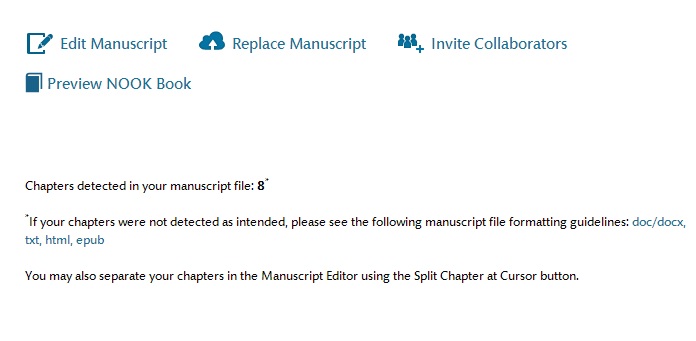
From here, you can edit your manuscript, replace the manuscript file, invite collaborators to work on this project with you, or you can preview your NOOK Book. I highly recommend that you take a few minutes to preview your NOOK Book. This is especially important if you uploaded anything other than an epub. You want to make sure nothing went wrong during the conversion process!!
When you’re done uploading your manuscript, a green check-mark will appear beside “Manuscript” and you can move on to step 2.
STEP 2 – Cover Image
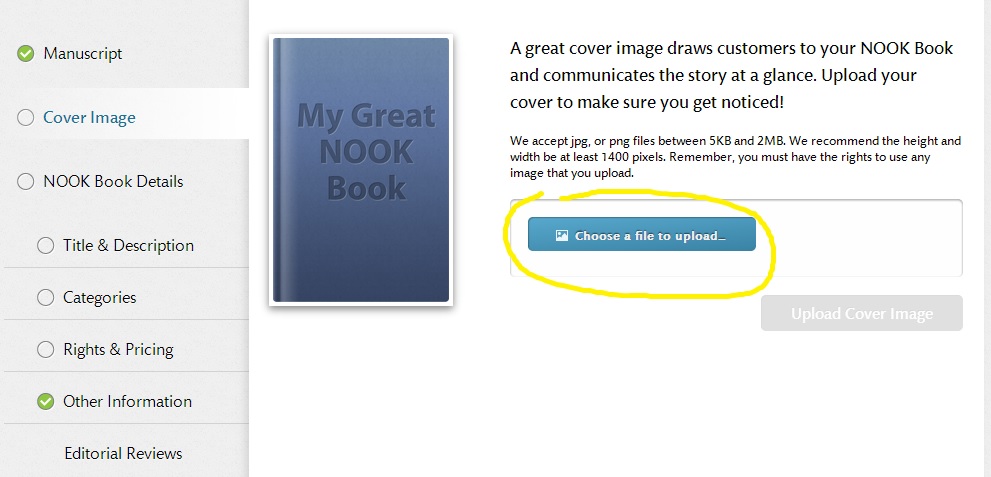
Choose “Cover Image” on the list to the left and this new dialog will appear. Pay close attention to the rules listed on this page:
- They accept both .jpg and .png files
- The cover image file MUST be between 5KB and 2MB. If you try to upload anything larger than 2MB, it won’t work! If you’re having trouble getting your cover image to appear correctly, chances are your file size is too big.
- Height and width should be at least 1400 pixels. (I typically upload an image around 1688 x 2588 pixels.)
When you have your cover image ready, click ‘Choose a file to upload’. This will bring up a system dialog box where you can choose your image from your computer. Locate the image you want to use, then click ‘Upload Cover Image’.
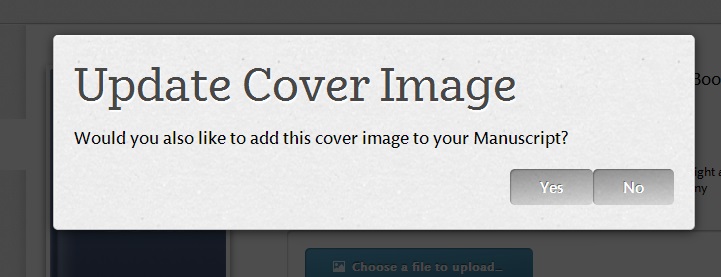
A question will pop up asking “Would you also like to add this cover image to your manuscript?” I always say no because I have already added my cover image at the front of my epub. If you are uploading a doc or txt file and you didn’t already put your cover image into the document, you should say “yes” here. If your epub or doc already had the cover image at the beginning, say “no.” Once you answer, the “Upload Cover Image” button will become blue. Click it now.
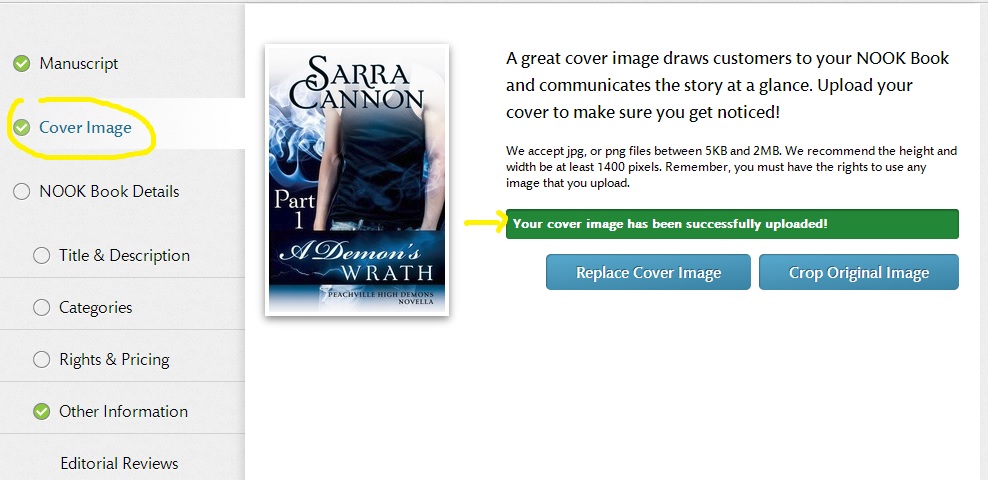
Hooray! You now should have a cover image showing up on the page. You should also see a highlighted green message saying “Your cover image has been successfully uploaded!”. If you don’t see this message, go back and make sure you are following the sizing rules listed above.
Notice that you also now have a green check beside the “Cover Image” section. If you ever need to replace this cover image, just click on this section and choose “replace cover image”. This will bring up a new dialog box where you can choose and upload a new cover image for this project.
STEP 3 – Nook book details
This is the most time consuming part of the uploading process. There is a lot of information in the NOOK Book Details section, but NOOK Press does a great job separating each section out for you. You can fill this information out in any order, but all items with a small blue asterisk are required.
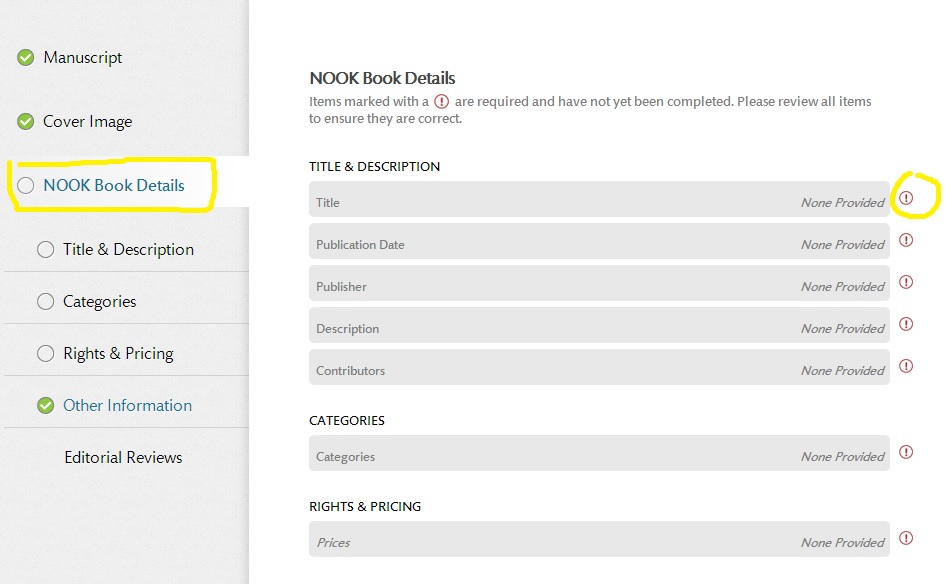
First, they give you an overview of the details page. At first, each section will say “none provided”, but as you fill in each part, the details will begin to show up here on the overview. You will also notice a circle with a red exclamation point to the right of each line. This exclamation point indicates an item that is required but not yet completed. (Later, when everything has been filled in, the red exclamations will be gone and the circles on the left side of the page will all be green with check-marks.)
We’re going to take each of the next sections piece by piece.
NOOK Book Details – Title & Description
You can get to this section by clicking on any of the items under Title & Description on the right side of the page or by simply clicking on Title & Description on the left menu. Here you will enter your book’s title, the publisher, author, the book’s description, information about the author of the book and the ebook’s ISBN. Let’s go box by box.

Unlike the project name you chose earlier, this is asking for the actual Title of your book. Enter the title exactly how you want it to appear in the NOOK store.

If you have your own publishing company or have a name for your publishing business, enter it here. If you don’t have a separate name for your publishing business, you can enter your author name here. If you already filled out this information in your account details, it will auto-populate with your publishing name here.
The publication date is the date this book went on sale. This will automatically set itself to today’s date. Make sure to change it if you are setting up a book that you won’t put on sale for a few days or weeks. Unlike Kobo and iTunes, if you set a future date here, your book will NOT be available on the Barnes & Noble website as a pre-order. At this time, NOOK press does not allow pre-orders.
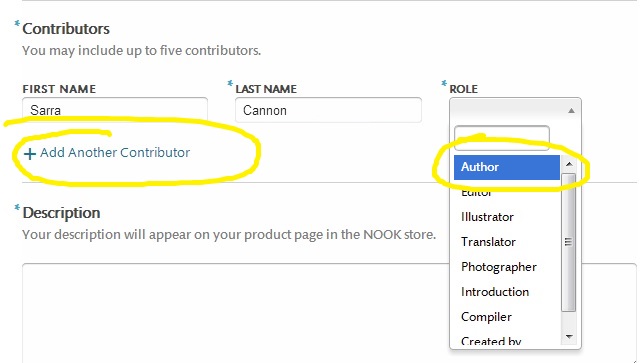
NOOK Press allows five contributors to be listed for each book. To list yourself as the author of the book, put in your first and last name as you want them to appear on the book’s sale page. That means use your pen name here if you have one! Select ‘Author’ from the drop-down box under ‘Role’. If you have other authors or editors or illustrators to list, simply click ‘Add Another Contributor’ and a second line will appear for you to fill in.
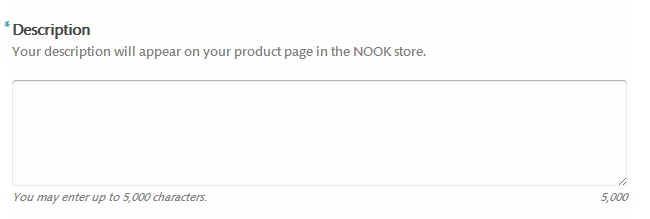
The Description is the ‘blurb’ for your book. Like the back cover of a printed book, this is basically where you tell the readers what your book is about. Descriptions are extremely important! Make sure you hook readers in with some kind of interesting question or detail that will make them interested enough to want to buy the book.
You can also use the Description section for advertising current sale prices or promotions, but be sure to go back and change it after the sale or promotion has been completed. There is a max of 5,000 characters that can be used in your Description. I tend to think the shorter and easier to read, the better. Also, be warned that if you copy and paste into this box, the text might not come out exactly as you expect. The text won’t hold onto bold or italics and sometimes the line breaks will be stripped. Always double-check to make sure the product page lists your Description the way you intended.

Just like it sounds, this is a box where you tell the reader about yourself as the author of the book. You have up to 2,500 characters to tell the reader about yourself or about the author of the book.
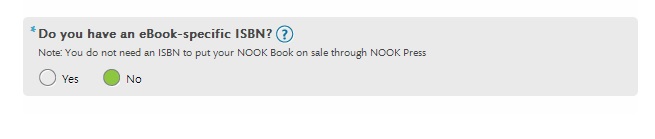
Finally, you will need to indicate whether you have an eBook-specific ISBN for this eBook or not. An ISBN is not required, so if you don’t have one, just leave it on ‘No’ and move on to the next section. If you do have an eBook specific ISBN, you can click ‘Yes’ and a new box will show up where you can enter the number. Whether or not you use an ISBN seems to be becoming less and less important as time goes on. A lot of people don’t use them, so it’s totally up to you whether you want to purchase them or not. Don’t enter your print version’s ISBN in this space. This is for your eBook ISBN only.
When you’ve filled out all of this information, click “Save & Next” to move to the next section. If you don’t know how you want to fill one section out, you can move on to any other section without filling this out completely. If the section is completely finished, a green check-mark will show up beside “Title & Description”. If there’s still required information missing, the circle will be blank.
NOOK Book Details – Categories
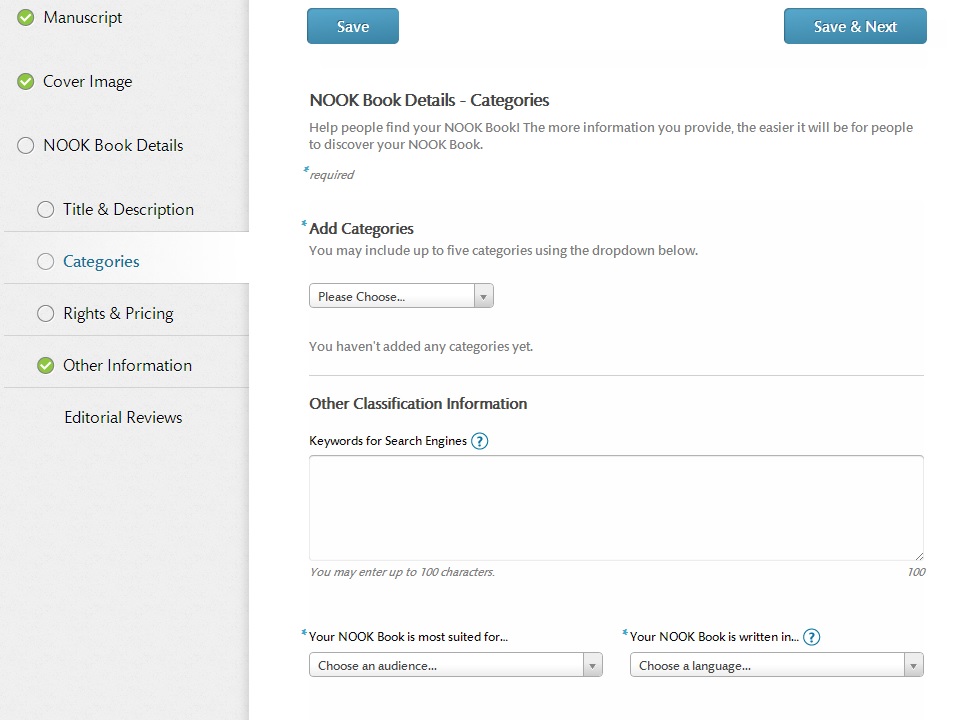
The Categories section is where you enter information that will determine where your book is placed inside the NOOK store. We’re going to take this section box by box.
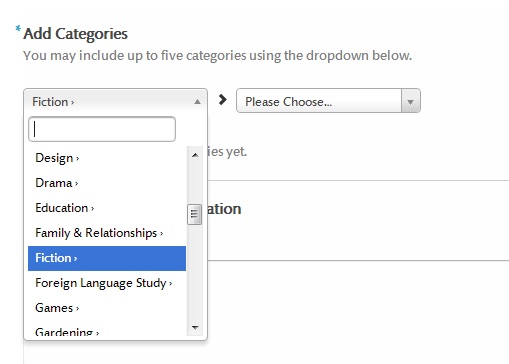
First, you need to Add Categories. You can choose up to five separate categories. When you click on the box, a long dropdown menu appears. Most of the time, you’ll be scrolling down and choosing “Fiction” from this list. If you have a non-fiction eBook, scroll through and see which categories fit your book best. When you select something in the first box, a second box will appear, narrowing the category even further.
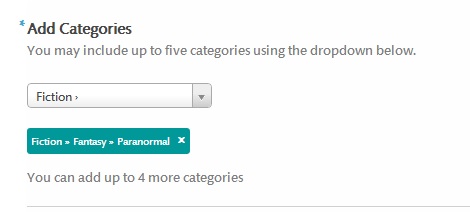
Go as far as you can, continuing to narrow your Category. Once you’ve reached the narrowest possible category match, that category will be added to your book. It will show up in a teal box under the category section, along with a note telling you how many categories you have left. Here, you can see that I’ve chosen the category “Fiction>Fantasy>Paranormal” and have up to 4 categories remaining.
Once you’ve chosen your categories, you will also be asked to enter Keywords in the “other Classification Information” box.

Inside this box, you’ll have up to 100 characters to use. Enter as many keywords as you can with those 100 characters, separating each keyword with a comma. (Example: Witches, Demons, Teen Series, YA Romance) These keywords will become part of what is called Metadata (the data about your book), and will be used to help connect readers with your book. If I used the keywords above, then my book might have a good chance to show up if a reader searches for ‘Teen series about witches’.
Choose the keywords that best fit your book!
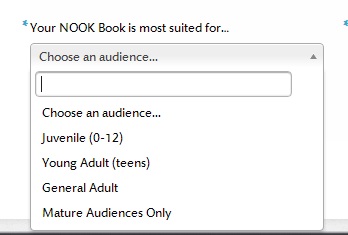
Below this, you will choose the age group or audience that best suits your book. A dropdown menu will appear, showing you four different choices. Choose the one that best applies to your book. If you are writing erotica, make sure you choose “Mature Audiences Only”.
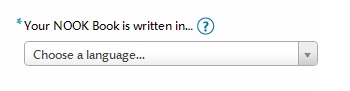
The final box on this page is the easiest. All you have to do is select the language this NOOK Book is written in from the dropdown menu. Usually the choice here will be “English”.
When you’ve finished entering all of the category information, click “Save & Next at the top of the page. Now you should see a green check-mark beside the Categories section. If you don’t see the green check-mark, you haven’t filled in all the required information for this section. Go back and look for the boxes marked with a blue asterisk.
NOOK Book Details – Rights & Pricing
This is a short and sweet section where you will give information on where you have the right to publish this book as well as what you want the price to be.
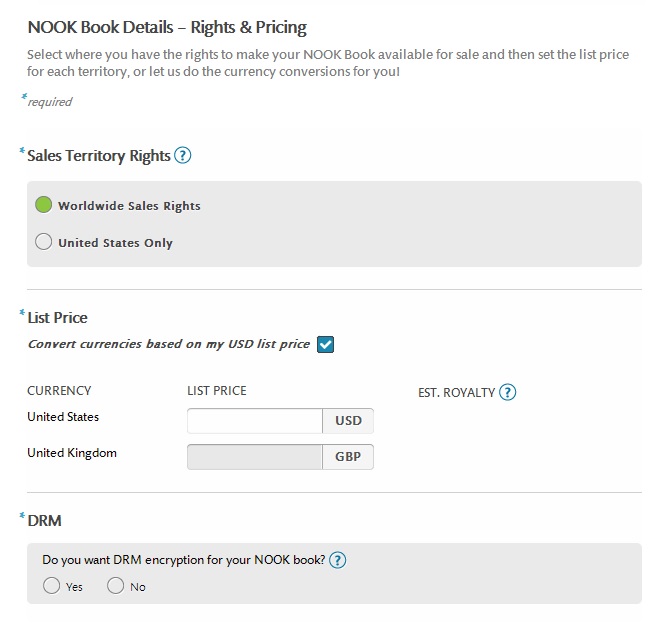
The first question is about your “Sales Territory Rights”. Basically, they just want to know whether you own the right to publish and distribute this eBook all over the world or just in the United States. Unless you have specifically signed a contract and sold your foreign rights to a publisher, you as the author have Worldwide Sales Rights.
The List Price is what you want to sell the eBook for in the NOOK Store.
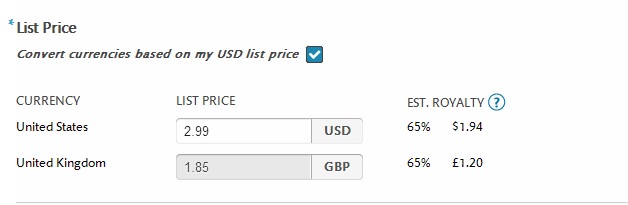
When you enter a price in the box beside “United States”, both the Estimated Royalty and the UK prices will auto-populate. For books priced between $2.99 and $9.99, NOOK Press pays a royalty of 65%. For books of any other price ($0.99 for example), NOOK Press pays you a 40% royalty.
You can price your books anywhere from $0.99 to $199.99.
If you DON’T want the UK price to be based on the US price, simply un-check the blue box that says “Convert currencies based on my USD list price”. Once the box is unchecked, you will be able to enter your own price for the United Kingdom.
The final question here is whether you want DRM encyrption on your NOOK Book.

DRM stands for Digital Rights Management. If you choose “Yes”, your book will be encrypted so that it will be more difficult for someone to steal the book and sell it themselves. Whether or not you want DRM on your book is a personal choice, but keep in mind that once you’ve said “Yes” you CANNOT CHANGE IT later.
I personally don’t put DRM on my eBooks. I find that people who want to steal your eBooks are going to have the right programs to crack the DRM while people who just want to innocently transfer their purchased books from one device to another will have headaches with DRM encrypted eBooks. It’s up to you, though, so do your research and make the decision that’s best for you.
You’re almost done! Once you’ve entered your Rights & Pricing information, a green check-mark will appear beside that section on your project page. Let’s look at “Other Information”.
NOOK Book Details – Other Information

Three simple questions. These have already been answered for you, but you’ll want to make sure to go in and change these to “yes” if it applies.

If a book is in the public domain, that means the copyright on it has expired. This basically only applies to really old books. If you wrote this book yourself, then the answer here is “No”, this book is NOT public domain.
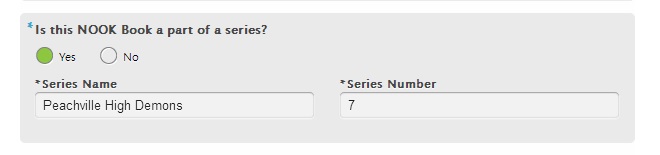
If your book is part of a series, make sure to change this answer to “Yes”. When you do, 2 new boxes show up asking for the series name and series number. Type the name of the series exactly as you have it listed on all the other books in this series. For example, if the other books in this series have “Peachville High Demons” as a series name, make sure you don’t accidentally say “The Peachville High Demons” here. The series name should be exactly the same on all books in the series.
The series number is asking for series order. Where does this book fall in your series order? If it’s the first book in the series, then the series number is 1. If it’s the seventh book, the series number is 7. Unfortunately, NOOK Press won’t allow you to enter decimals, so if this is a novella or a two-part book, you can’t enter ‘7.5’ as the series number. It will only allow whole numbers, so keep this in mind.
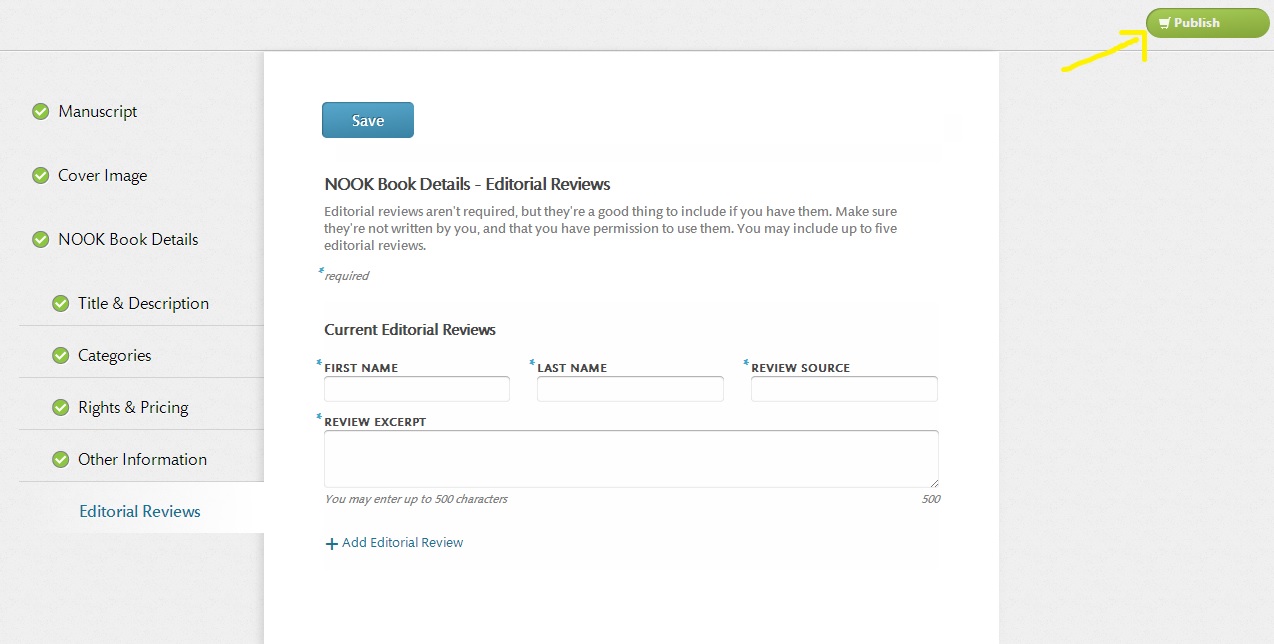
NOOK Book Details – Editorial Reviews
The final task is to enter any Editorial Reviews you might have. This section is NOT required, but having some reviews can help encourage readers to buy your book. You can use blogs, news articles, other authors or any kind of press your book has received. Make sure, however, that you have permission to use the review before you post it.
You can enter up to 5 editorial reviews. All you have to do is enter the first and last name of the reviewer, the source of the review (Blog, Newspaper, etc) and then the excerpt you want to use. You can use up to 500 characters here.
To add another review, just click on the plus sign where it says “Add Editorial Review” at the bottom of the page.

*Note: Even if you’ve entered reviews, there is no green circle next to this section.
Step 4: publish!
Once you have check-marks beside each of the tasks or section on the left side of the project screen, a green bubble that says “Publish” will fill in on the upper right side of your screen.
As soon as you click “publish”, your book will go into the queue to be published in the NOOK store!
If you aren’t quite ready and still want to make changes or wait for a specific release day, all you have to do is save your information and click “Back” to go to your main NOOK Press page.

The project will be listed on your projects tab along with all of your other NOOK Press projects. From this project dashboard, you can update your manuscript, change the book’s details, see the current price, publish or delete.
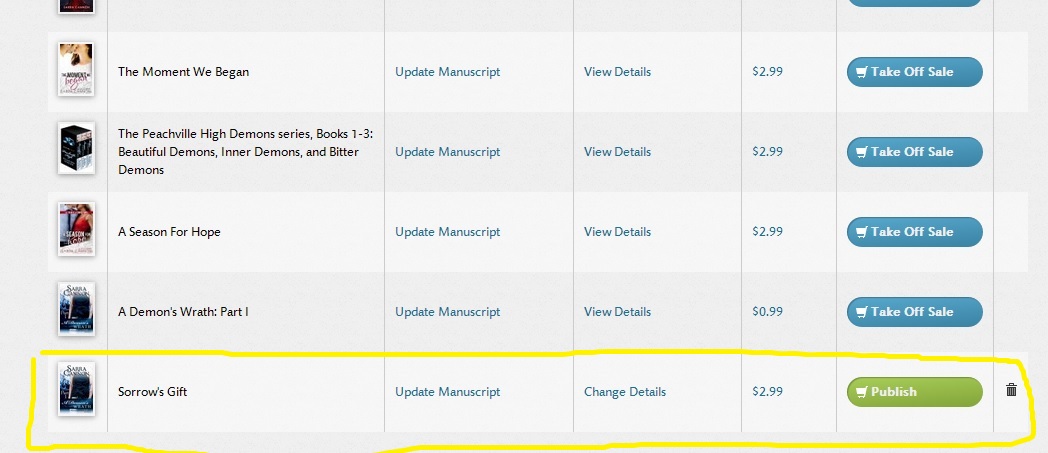
Once you are ready, hit the Publish button! Now it’ll only be a matter of time before your eBook is live and on sale in the NOOK store at barnesandnoble.com. How much time can vary, but eBooks are usually on sale within 24-48 hours after you press publish. When your book is live, the button beside it on your dashboard will switch from “Publishing” to “Take Off Sale”. This will remove your book from the store, so don’t click there unless you want the book to no longer be on sale.
You can edit your book’s details – including cover art and pricing – at any time through the main project page at the NOOK Press site. Changes usually go through pretty fast and your book stays on sale while the changes are waiting to go through.
If you have any other questions throughout the publishing process, you can always shoot me an email or click on “Support” at the top of the NOOK Press page to contact customer service or post in the forums.
CLICK HERE TO GET STARTED WITH NOOK PRESS!!
I hope this walk-through has helped answer some of your questions about how to publish your Nook book in the Barnes & Noble web store. If you have any questions or corrections, please feel free to contact me through my website at www.sarracannon.com.